No Knead Gluten Free Bread
Highlighted under: Light & Fresh Recipes
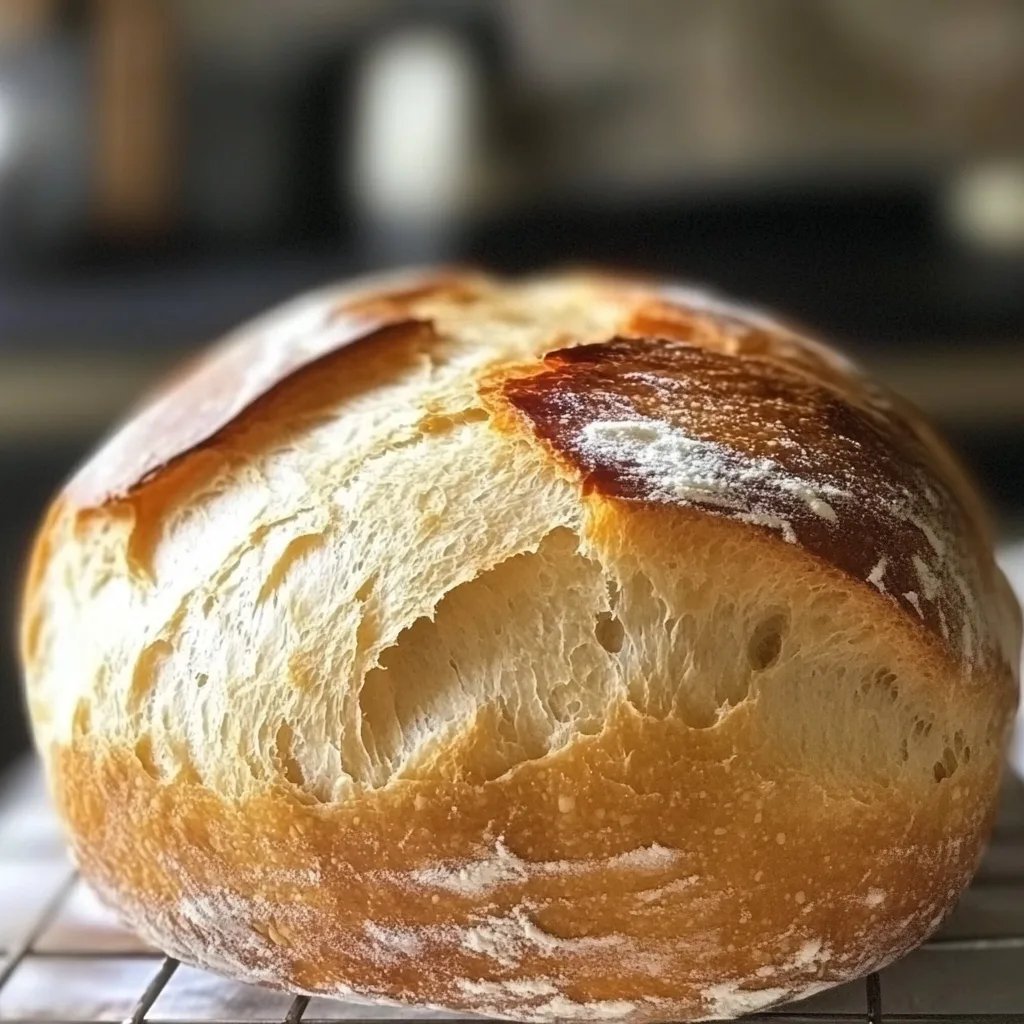
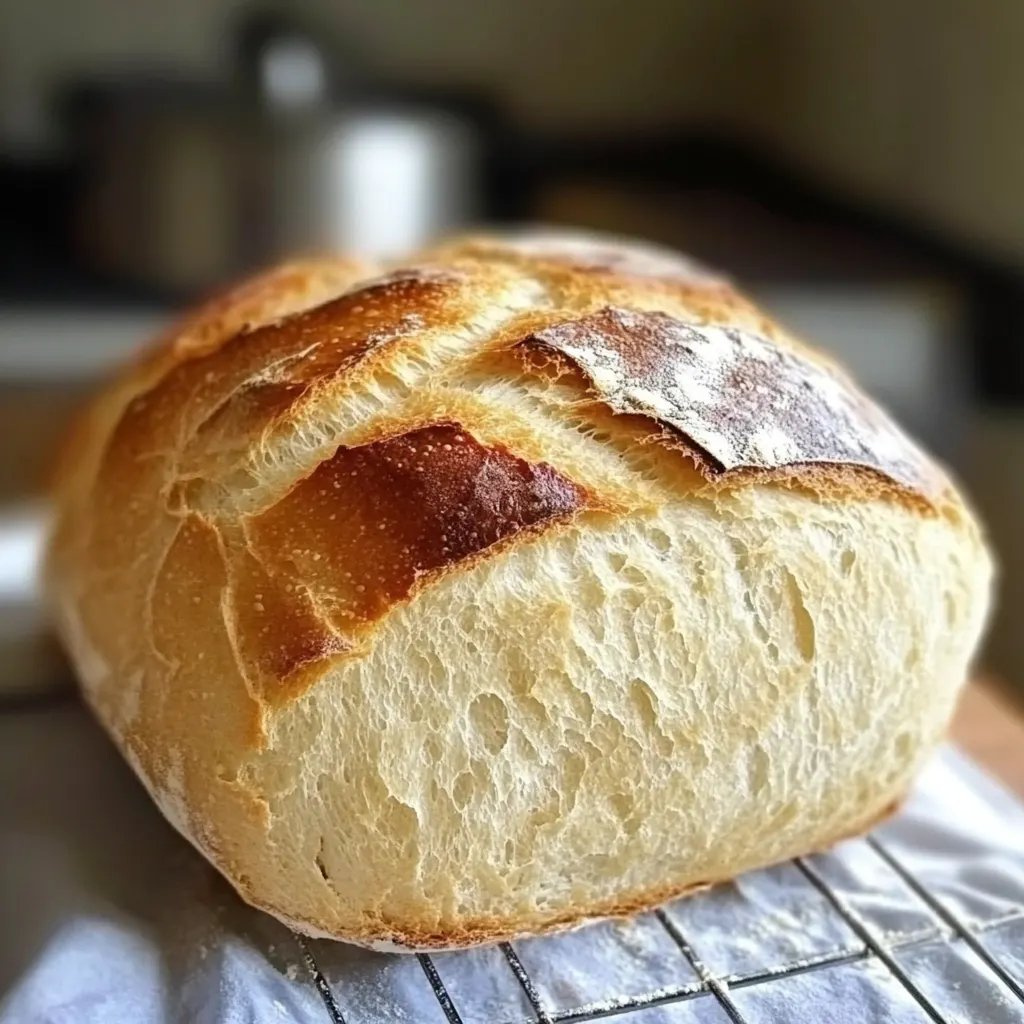
Experience the joy of homemade bread with this simple No Knead Gluten Free Bread recipe. Perfectly crusty on the outside and soft on the inside, it’s an effortless way to enjoy fresh, warm bread without gluten. Just mix, let rise, and bake – no kneading required! Ideal for sandwiches, toasts, or as a side to your favorite dishes. This recipe is a must-try for anyone seeking delicious gluten-free alternatives.
This No Knead Gluten Free Bread recipe allows you to bake artisan-style bread in the comfort of your own kitchen without the fuss of kneading. Enjoy a fresh loaf that your whole family will love!
Perfect for Any Occasion
This No Knead Gluten Free Bread recipe is not just for those with gluten sensitivities; it’s a delightful option for everyone! Whether you're preparing a family dinner, hosting a brunch, or just craving a slice of homemade bread, this recipe fits the bill. Its soft interior and crusty exterior make it versatile enough for sandwiches, toast, or served warm alongside your favorite soups and salads.
Making bread at home often feels intimidating, but this recipe simplifies the process, allowing you to enjoy the aroma of freshly baked bread without the hassle of kneading. With just a few ingredients and minimal effort, you can impress your family and friends with a beautiful, homemade bread that’s sure to be the highlight of your meal.
The Science Behind No Knead
The no-knead method works wonders by allowing the dough to develop flavor and texture over time. By letting the dough rise slowly for at least 12 hours, gluten-free flours have the opportunity to absorb moisture and expand, which enhances the final product’s taste and structure. This long fermentation process not only boosts flavor but also contributes to the crusty exterior we all love in artisan breads.
Using gluten-free all-purpose flour blends that contain xanthan gum helps mimic the elasticity and chew of traditional bread. Xanthan gum acts as a binder, providing the necessary structure to the bread that gluten would typically offer. This is crucial for achieving that bakery-style loaf everyone craves, ensuring you can enjoy fresh bread without compromising dietary needs.
Tips for Best Results
For the best outcome, measure your flour correctly. Using a kitchen scale can ensure precision, as different brands and types of gluten-free flour have varying weights. When you mix your dry ingredients, take care to thoroughly incorporate each component, ensuring even distribution of the baking powder and xanthan gum for optimal rising.
If you find the dough too sticky to handle when shaping, lightly flour your hands and the work surface. Remember, every oven behaves differently. Keep an eye on your bread towards the end of the baking time, as you want it to have a golden brown crust without burning. Allowing the bread to cool before slicing will also help to maintain its structure.
Ingredients
Dry Ingredients
- 2 cups gluten free all-purpose flour
- 1 teaspoon salt
- 1 teaspoon baking powder
- 1/2 teaspoon xanthan gum
Wet Ingredients
- 1 cup warm water
- 1 tablespoon olive oil
- 1 teaspoon apple cider vinegar
Mix the dry and wet ingredients together until combined.
Instructions
Mix the Ingredients
In a large bowl, combine the dry ingredients. In a separate bowl, mix the wet ingredients. Combine the two mixtures and stir until a thick, sticky dough forms.
Let the Dough Rise
Cover the bowl with a clean kitchen towel and let it rise in a warm place for about 12 hours or overnight until it has doubled in size.
Preheat the Oven
Preheat your oven to 450°F (230°C) and place a Dutch oven inside to heat.
Shape and Bake
Once the dough has risen, turn it out onto a floured surface, shape into a ball, and gently place it into the preheated Dutch oven. Cover and bake for 30 minutes, then remove the lid and bake for an additional 15 minutes to brown the crust.
Cool and Serve
Remove the bread from the oven, let it cool for 10 minutes before slicing. Enjoy!
Serve warm or store in an airtight container.
Pro Tips
- For extra flavor, consider adding herbs or garlic powder to the dry ingredients.
Storage and Freshness
To keep your No Knead Gluten Free Bread fresh, store it in an airtight container at room temperature for up to two days. If you prefer a longer shelf life, consider freezing the bread. Slice it first, so you can easily grab just what you need without defrosting the entire loaf. Wrap it tightly in plastic wrap and then foil or place it in a freezer-safe bag, and it can last up to three months in the freezer.
When you're ready to enjoy the frozen bread, thaw it at room temperature or toast slices directly from the freezer. This preserves its delightful texture and flavor. Homemade bread is best enjoyed fresh, but with a little care, you can savor the wonderful taste of your No Knead Gluten Free Bread for days to come!
Variations to Try
This basic No Knead Gluten Free Bread serves as a perfect canvas for creativity. You can easily customize the recipe by adding herbs, spices, or cheese. Consider incorporating Italian herbs like oregano or basil for a Mediterranean twist, or mix in shredded cheese for a cheesy delight that pairs perfectly with soups and salads.
If you're interested in adding sweetness, try folding in dried fruits or nuts to create a delightful breakfast bread. Adding a tablespoon of honey or maple syrup to the wet ingredients can also enhance flavor, although you may need to adjust the liquid content slightly. Experiment with flavors to find your favorite combination that fits your palate!
Questions About Recipes
→ Can I use a different type of gluten-free flour?
Yes, but make sure it is a 1:1 gluten-free flour blend for best results.
→ How should I store the bread?
Store in an airtight container at room temperature for up to 3 days.
No Knead Gluten Free Bread
Created by: The Ultimaterecipehub Team
Recipe Type: Light & Fresh Recipes
Skill Level: Beginner
Final Quantity: 1 loaf
What You'll Need
Dry Ingredients
- 2 cups gluten free all-purpose flour
- 1 teaspoon salt
- 1 teaspoon baking powder
- 1/2 teaspoon xanthan gum
Wet Ingredients
- 1 cup warm water
- 1 tablespoon olive oil
- 1 teaspoon apple cider vinegar
How-To Steps
In a large bowl, combine the dry ingredients. In a separate bowl, mix the wet ingredients. Combine the two mixtures and stir until a thick, sticky dough forms.
Cover the bowl with a clean kitchen towel and let it rise in a warm place for about 12 hours or overnight until it has doubled in size.
Preheat your oven to 450°F (230°C) and place a Dutch oven inside to heat.
Once the dough has risen, turn it out onto a floured surface, shape into a ball, and gently place it into the preheated Dutch oven. Cover and bake for 30 minutes, then remove the lid and bake for an additional 15 minutes to brown the crust.
Remove the bread from the oven, let it cool for 10 minutes before slicing. Enjoy!
Extra Tips
- For extra flavor, consider adding herbs or garlic powder to the dry ingredients.
Nutritional Breakdown (Per Serving)
- Serving Size: 1 slice
- Calories: 120
- Fat: 3g
- Carbohydrates: 22g
- Protein: 2g